How do you record a product demo on a Mac?
Record a product demo on Mac with built-in tools or tday for Mac. Capture your screen and voice, then trim, edit and share the take in Studio.
By the tday.com team Published 6 min read
The short answer
You can record a product demo on a Mac with the built-in Screenshot tool (Cmd+Shift+5) or QuickTime Player. With tday for Mac, you record your screen and voice, then the take opens in tday Studio within seconds. tday cuts idle footage, times your narration, adds your brand's look and zooms onto clicks and typing.
Key takeaways
- macOS has built-in recording tools; tday for Mac connects recording to an editable demo in Studio.
- Record a display, window or area, with optional camera, microphone and system audio. Cmd+Shift+2 starts and stops a take by default.
- Your voice is transcribed on the Mac, with subtitles timed to your words. The camera is added in Studio, not baked into the screen footage.
- Your coding agent's local takes appear in Demos > On this Mac. Demos from anywhere lets your own Claude Code or Codex record on the Mac remotely.
- An offline take waits on the Mac and sends itself later. Local copies are kept for 7 days after sending.
You do not need a separate app just to capture your Mac's screen. Press Cmd+Shift+5 to open Screenshot, choose the whole screen or a selected portion, then click Record. In Options, pick a microphone to record your voice. Stop from the menu bar or with Cmd+Control+Esc.
QuickTime Player is another built-in route. Open it and choose File > New Screen Recording. Depending on your Mac, this opens Screenshot's controls or QuickTime's recording window. Apple's screen recording guide, read November 17, 2026, covers both. These tools are a reasonable choice when you want a recording to play, edit or share.
A dedicated Mac screen recorder for product demos helps when capture is only the first step. tday for Mac opens your take in Studio within seconds of stopping. It checks the take, cuts idle footage, times the lines and adds your brand's look. Clicks and typing give the video places to zoom onto.
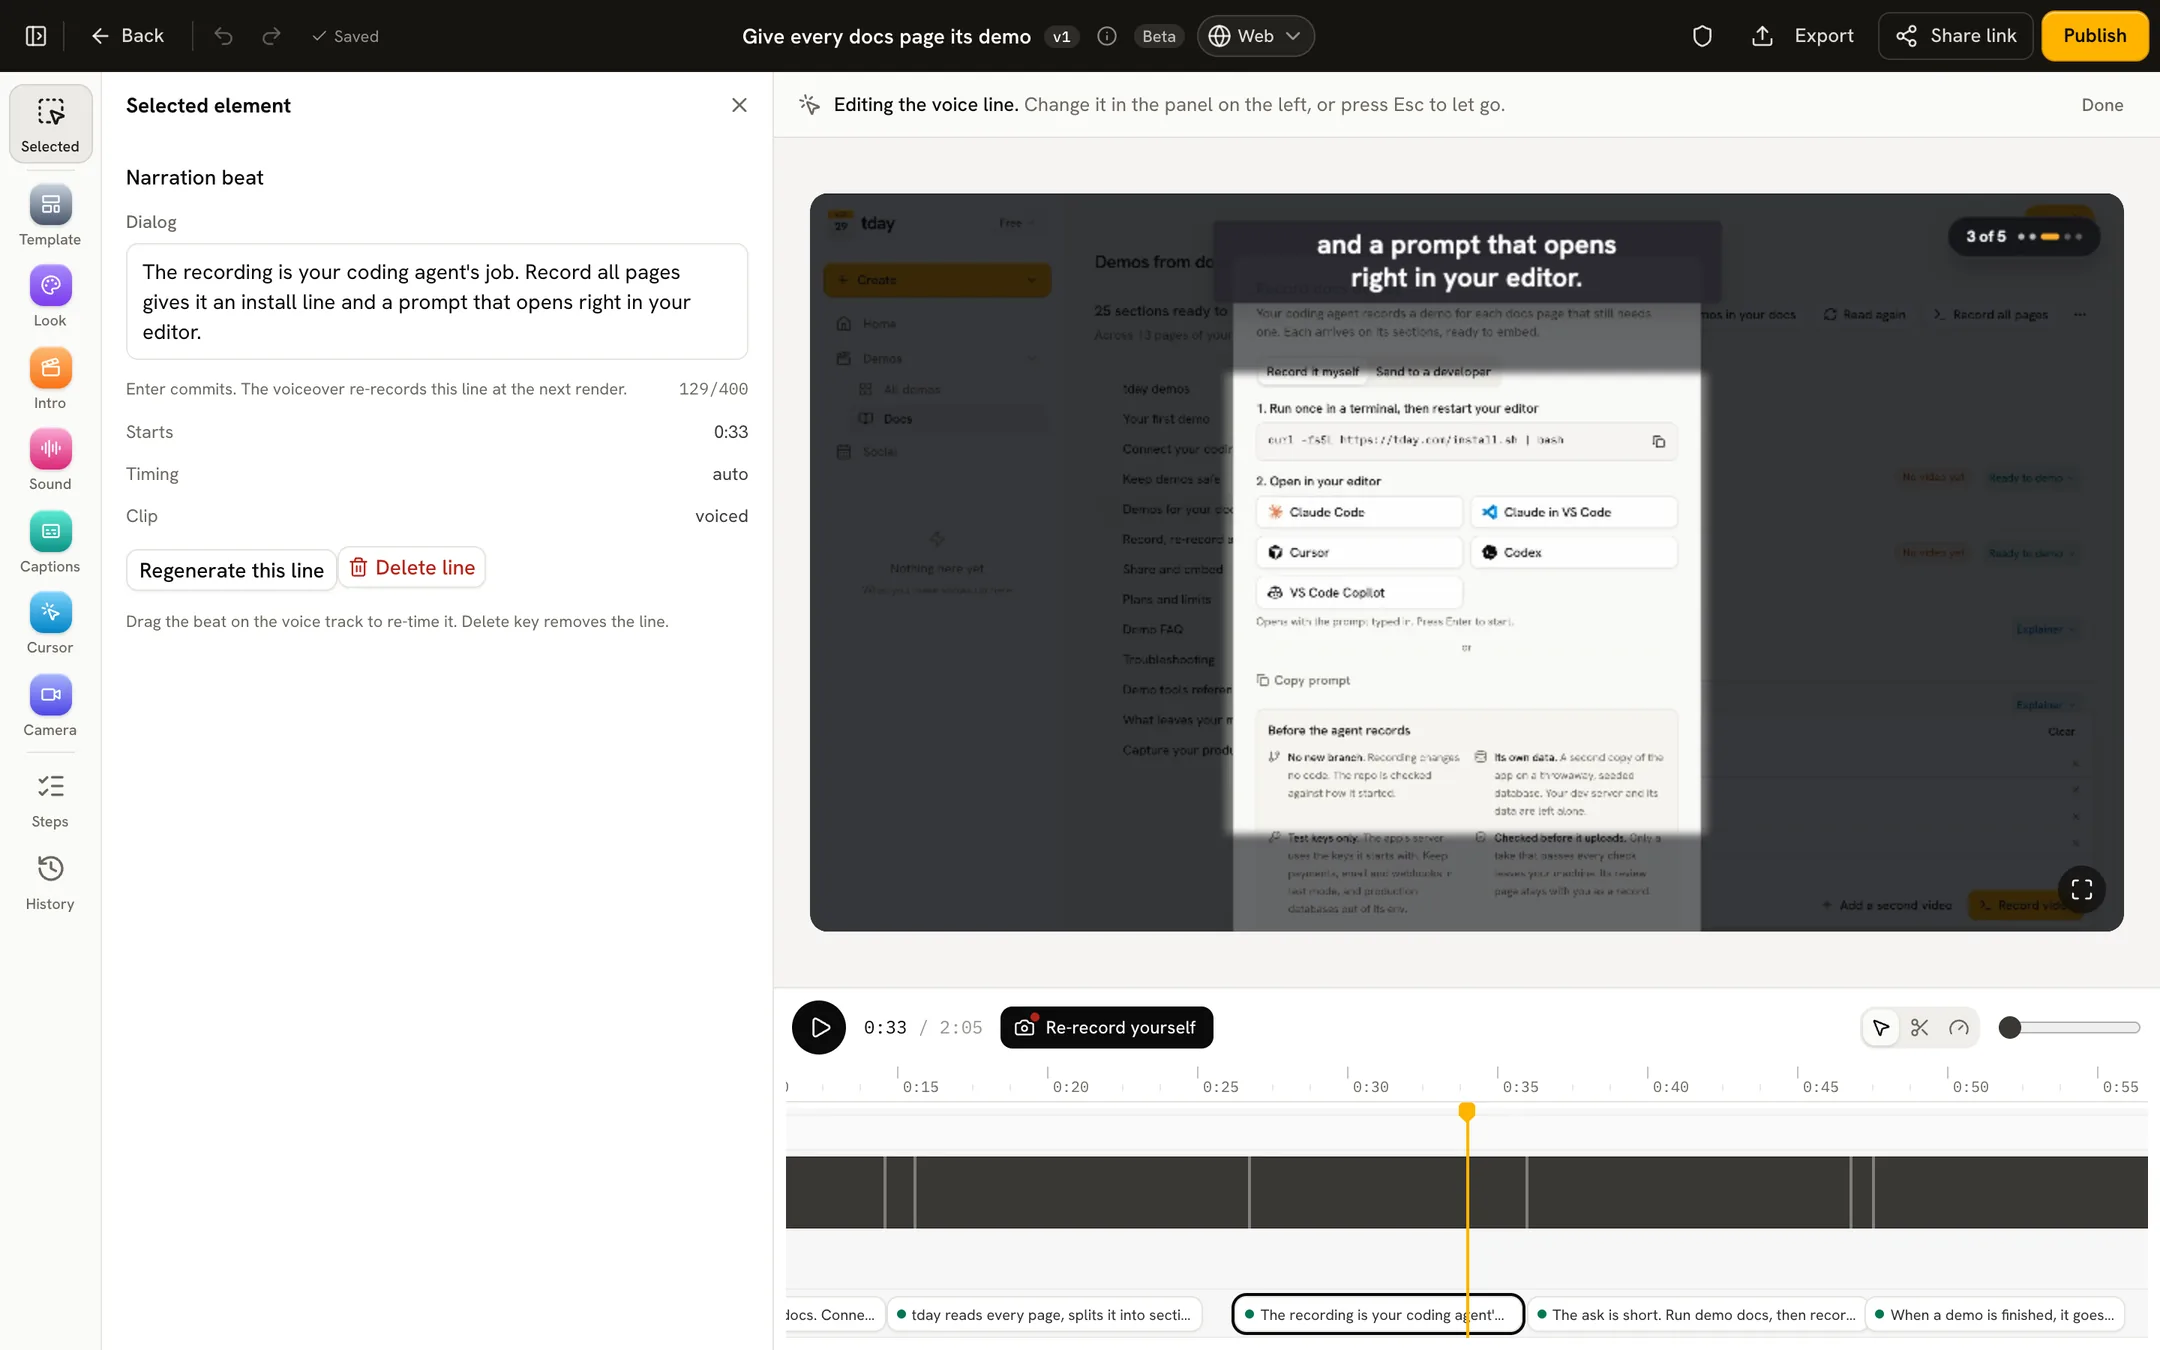
The screenshot above shows Studio's narration editor, not the Mac recording controls. Here is how you get a take into that editor.
Record your screen with tday for Mac
- Download tday for Mac. Open the DMG and drag tday to Applications, then open it there.
- Click Sign in. Your browser opens tday for you to approve access. You do not type a password into the Mac app.
- Open the recorder from the menu bar icon, Cmd+N, the Record menu or Cmd+Shift+2. You can change the shortcut in tday.com > Record Shortcut....
- Choose what to record in the bar at the bottom of the screen: Display, Window or Area.
- Pick a camera or none, select your microphone, and turn on system audio if you want your computer's sound. The microphone button shows your level.
For Display, point at a display and click it. For Window, click the outlined window with the app's name. For Area, drag a rectangle and click Record this area. A 3-2-1 countdown starts the recording.
Press the record shortcut again to stop. You can also choose Stop in the menu bar. Optional floating controls give you a timer, pause, stop, restart and cancel. Turn them off in View or the bar's ... menu if you prefer. tday's own windows, controls and camera preview never appear in the footage.
Your voice becomes the narration
Talk through the product as you use it. What you say becomes the narration in your own voice. tday transcribes it on the Mac, times the subtitles to your words and plays each line where you said it.
tday's AI voice stays off for a take recorded in your voice. If you want that voice instead, switch it on in Studio. It reads your transcript, with your microphone muted underneath. That is a choice you make in the edit, not a requirement for recording.
Your camera picture is also separate from the screen recording. Studio adds it later, where it can move and react to zooms. You are not committing to a fixed camera position when you press Record.
Edit in Studio
When the take opens, play it before you share it. Studio is the review: trim the take, rewrite a line, then export or share. The full video renders when you first export, publish or share it.
You can stay in the app you were using instead of opening Studio straight away. Choose Record > After Recording > Upload in the Background. A notification opens the demo once it is in.
For style changes, Studio's Look > Background includes Your desktop inside tday for Mac. It uses your desktop picture behind the take, without windows or desktop icons. A moving or aerial wallpaper becomes a still. The picture joins your brand's backgrounds, so teammates can use it too.
Let your coding agent record it instead
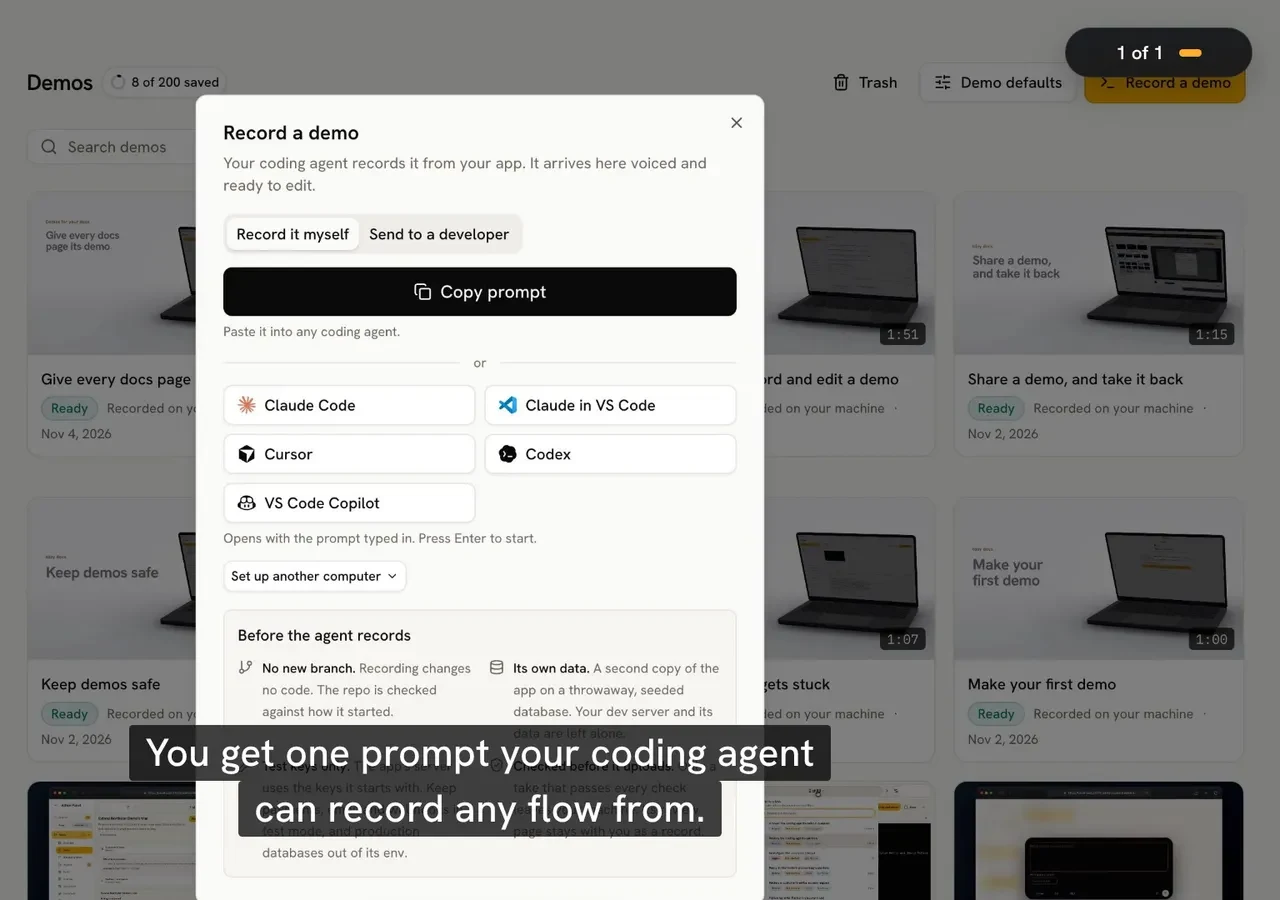
You do not have to drive every take yourself. Recordings your coding agent makes with the tday MCP server appear alongside yours in Demos > On this Mac. Your takes send themselves; an agent's local take waits for Send to Studio. Use Retry for a failed send or Discard to delete a take.
For the agent-led recording workflow, see how to record a product demo with your coding agent. The agent records one narrated line at a time, reviews the take and uploads it. Its thinking time between lines is cut.
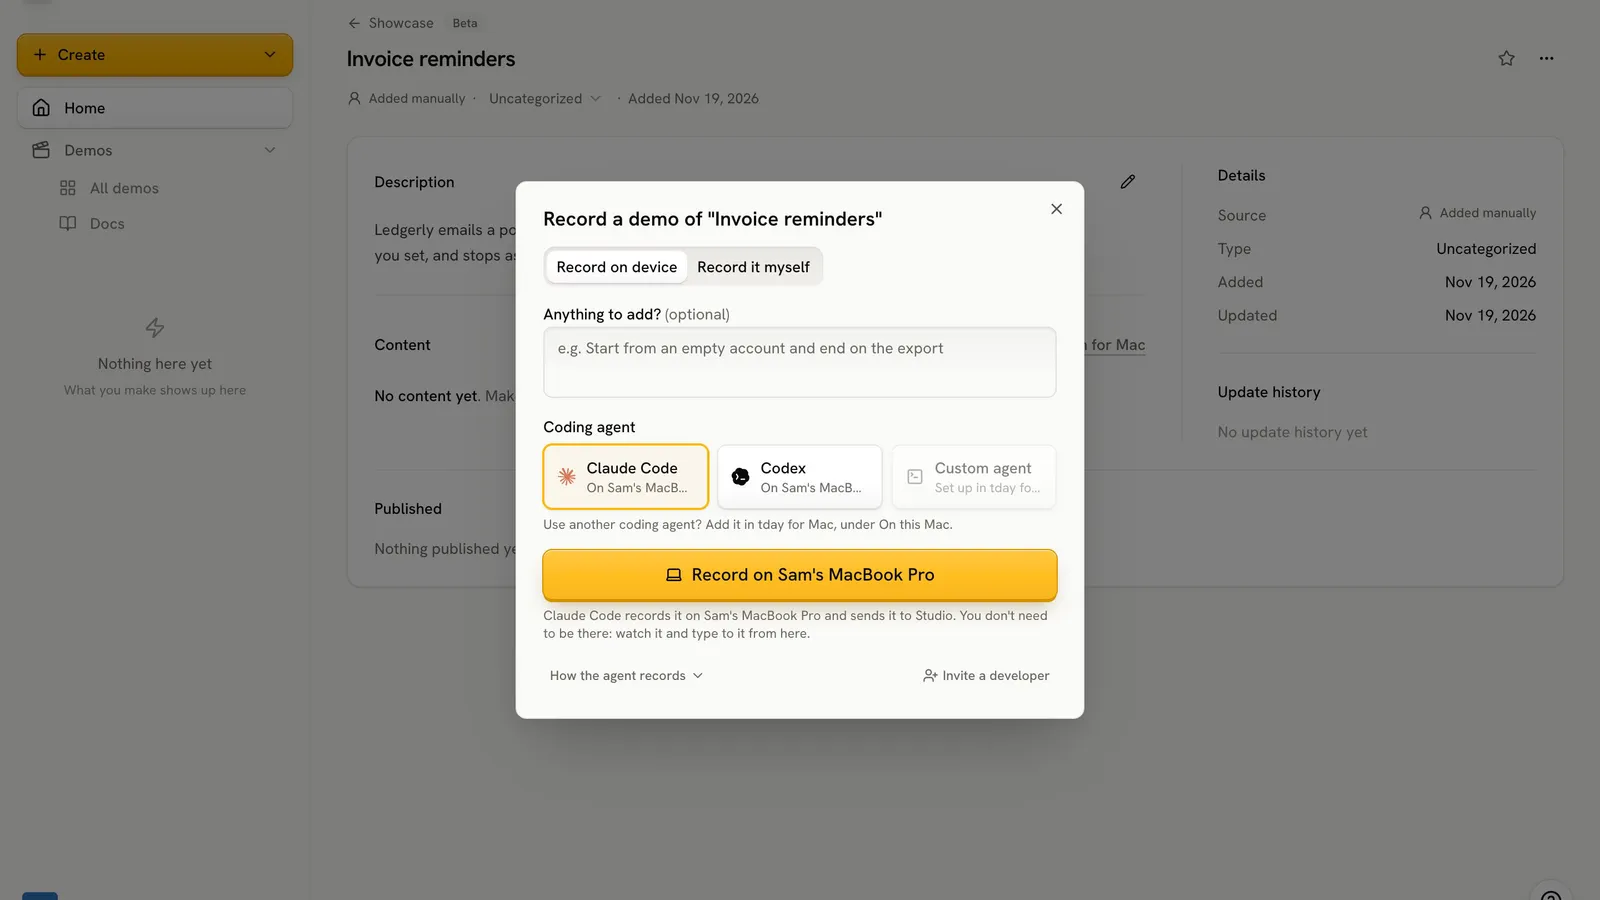
Demos from anywhere adds remote requests. Install and sign in to Claude Code or Codex on the Mac. In Demos > On this Mac, choose Add a repo, select your local git repo and turn on Let tday start demos on this Mac. Its remote must match the repo connected to your brand.
You can then ask for a demo from any device on tday, and your own agent records it on the Mac in its own browser. Keep tday for Mac open. You can watch the terminal and answer the agent remotely, including from a phone.
Privacy and permissions
macOS asks for permissions when a feature first needs them. tday explains each one before the system prompt:
- Screen Recording: captures the display, window or area you picked, only after you press Record.
- Camera: adds your camera when you turn it on.
- Microphone: records your voice.
- System Audio Recording: captures your computer's sound when enabled.
- Accessibility: notes where you click and type for zooms. Text typed into password fields is never kept.
- Speech Recognition: turns your words into captions on the Mac.
Recordings stay on the Mac until sent to Studio. If you are offline or signed out, the take waits and sends itself when you are back. Sent recordings remain locally for 7 days, then are cleaned up.
Remote agent runs have an extra consideration: their terminal output passes through tday so you can watch it. It is kept for a few hours to redraw the page; the full log stays on the Mac. See the remote recording docs before enabling that workflow.
Frequently asked questions
Which Macs can run tday for Mac?
tday for Mac needs macOS 14 or later and runs natively on both Apple silicon and Intel Macs.
Is tday for Mac signed and notarized?
Yes. tday for Mac is signed and notarized by Apple. Download it from tday.com/download/mac and drag it into Applications.
Can I record a product demo offline?
Yes. If you are offline or signed out, the take waits on your Mac and sends itself to tday Studio once you are back.
How long are local recordings kept?
Recordings you have sent to tday are kept on the Mac for 7 days, then cleaned up.
Can I move the camera after recording?
Yes. The camera picture is added in Studio, where it can move and react to zooms. It is not baked into the screen footage.
Do I need to use an AI voice?
No. Your recorded voice becomes the narration, with transcription on the Mac and subtitles timed to your words. AI voice stays off unless you switch it on in Studio.
Sources
- tday for Mac, tday docs
- Record your screen, tday docs
- Demos from anywhere, tday docs
- Record, re-record and edit, tday docs
- How to record the screen on Mac (read November 17, 2026), Apple Support
Have your coding agent record your first demo
One prompt in Claude Code, Cursor or Codex records a narrated demo of your app. tday.com voices, styles and renders it, ready for your docs. Free includes 5 saved demos.